
|
|||
|
Jeep FAQ How-To Articles Quick Reference Product Reviews My Buildup Random Home |
Well next in my do it yourself series is replacing a valve cover gasket. This one is pretty straight forward, and cheap too. This is all you should need, (This is for you Loaf!): - 7/16" Socket Deep Well 1/4 Drive - 7/16" Wrench - 1/4" Rachet - 1/4" Extension - Metal Putty Knife - Screw Driver - Hammer - Brake Cleaner - Shop Towels/Rags - Valve Cover Gasket - Silicone 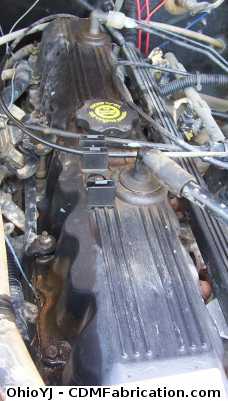
First step is to disconnect both CCV hoses: 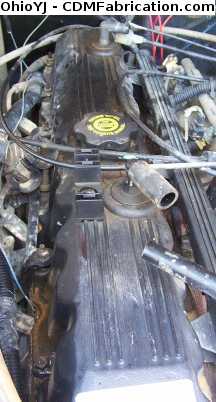
When unbolting the valve cover, it doesn't matter which order you take the bolts out in, I'd start with the studs that have nuts on top of them. Remove all the bolts and studs from the valve cover. 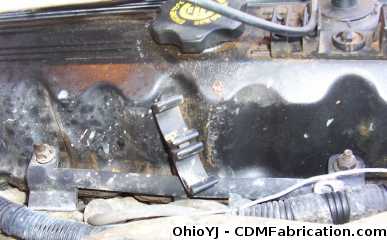
Don't worry if the nuts and studs stay together while taking them out, you can separate them later. After you've double and triple checked that you've removed all the bolts time to lift the valve cover off. Try lifting it off first. If it won't budge, tap a flat head screw driver between the valve cover and the head and then gently pry the valve cover up: 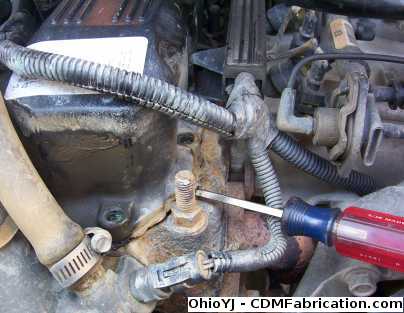
The valve cover doesn't exactly just lift right off, without taking other things off. You sort of have to work it back and forth and lift it up at a slight angle to get it out. Its sort of a puzzle. Once you have the valve cover off, its time to start cleaning it off. Use a putty knife or scrapper to clean off all the old silicone and gasket material. 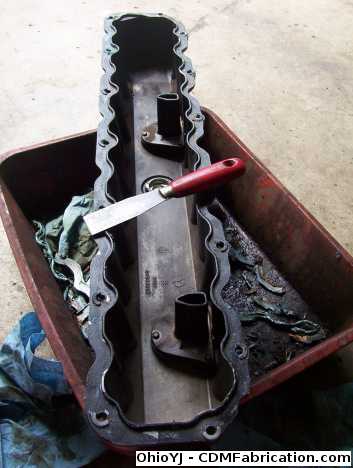
Once you have the valve cover scrapped clean, time to do the head. Make sure you scrap towards the outer edge of the head, so none of the old gasket or silicone falls into the motor. 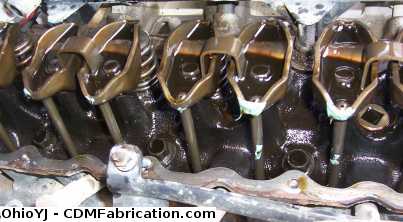
Now take a clean rag and wipe down the valve cover with brake cleaner. Once you think you have it clean, wipe it down one more time. Then clean the mounting surface on the head too. Again once you think it's clean, wipe it down again. As with many things, surface prep is the key. Take the valve cover gasket out of the box and dry fit it on the valve cover. It only goes one way. 
Flip the gasket over onto the box, so you can put silicone on the valve cover side. Spread an even coat over the entire valve cover gasket. 
All you really need is a thin layer, less is more. 
Personally after I spread the silicone, I smear it with my finger to make sure the entire gasket it covered. 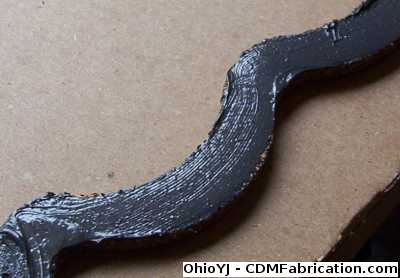
Then set the valve cover gasket on the valve cover. Now it's time to silicone the other side. If this was a performance car that the valve covers came off regularly for valve adjustments, I'd recommend just silicone the gasket to the valve cover, but not to the head. However this is my Jeep and I don't plan on having the valve cover off again anytime soon, so I'm silicone the bottom too. 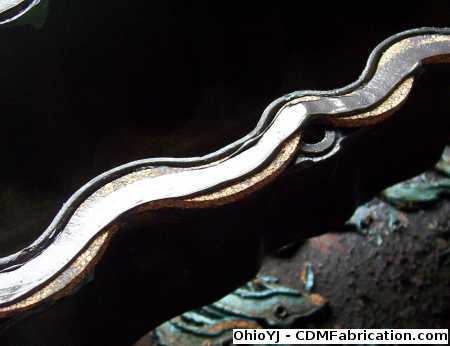
Time to the valve cover back on. Carefully set the valve cover back on. Once you have it in place, start the center bolts first. Start with the passenger side center bolt. and just take it down some, not super tight. Then do the driver side center bolt. After this start putting more bolts back in, in a criss cross pattern working your way to the front and rear of the valve cover. 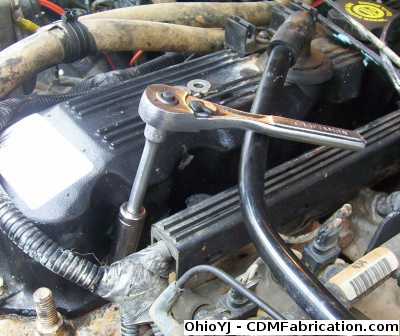
Notice in that picture I'm just using a 1/4 ratchet. This is a valve cover there is no need for it to be super tight. Using a large ratchet will pretty much ensure you over tighten the valve cover and have leaks. Once you have all the bolts in, keep working your way around the valve cover, you want the bolts tight to snug, I can't stress this enough these aren't lug nuts, they they don't need to be super tight. You'll notice you need to work your way around the valve cover several times for the bolts to be tight. The goal is to try and tighten the bolts all to the same point, so it evenly clamps the valve cover down.
© Copyright 2006 - 2025 Mike Lee
|
|
|