
|
|
|
Jeep FAQ How-To Articles Quick Reference Product Reviews My Buildup Random Home |
Installing an aftermarket radio is really pretty easy. You don't even have to know much about wiring to do it. To start with you need to remove the old radio. On YJs you must remove the center dash bezel. The blue arrows are point to screws that must come out. The red circles mark little tabs that go behind the other dash pieces, once you get the screws out you must carefully pull the dash bezel out. (On a TJ, you have to pop the tray out of the top of the dash, and remove two screws, then pull out the ash tray and remove the screws behind that, then the center dash bezel will pop off.) 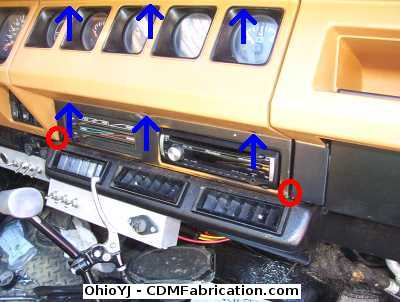 Once you get the center bezel out, there are just two screws that hold the radio in, in the top of the silver bracket visible in the picture (I believe TJs have 4 screws holding the radio in). 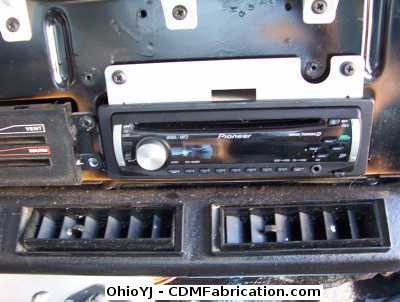 Make sure you unplug the radio harness and the antenna as you pull the radio out. Now I never used to buy the installation harnesses. Typically I just hard wire the new radio. I've come to find out I've been doing it the hard way all these years. Do yourself a favor and spend $10 on the harness, it makes things much easier. Then all you do is match the colors up. 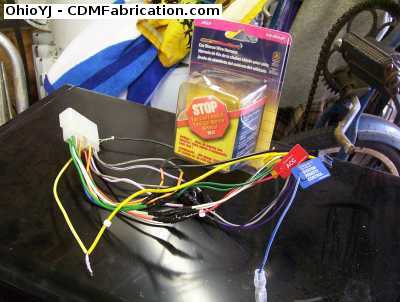 While you don't have too, I decided to solder all my connections before I taped them up: 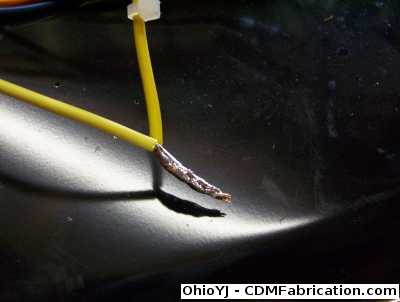 If you don't want to use the harness, here is the pin out for a YJ radio: 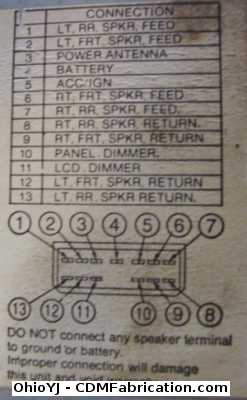 On a YJ there are four phillips head screws that hold the radio in the radio bracket. These screws can be a bit rough to get out. I stuck a screwdriver in the screws, then gave the screw driver a smack with a hammer, not to hard though it is just a radio. Then the screws came out pretty easy. 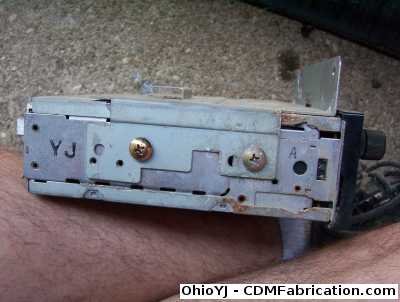 Now on a YJ I'd say the actual installation kit is very optional, in fact probably completely unnecessary. On a TJ you need the installation kit, no getting around it. On my YJ I re-used the factory radio bracket, on some radios you'll be able to get both screws in the bracket, on my Pioneer radio, only screw would go in each side, but it's plenty to hold the radio in. 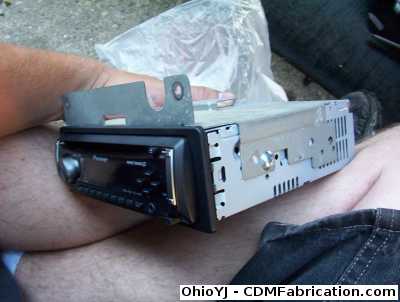 Now when it rained water used to pour out the tape deck of my old radio, and the buttons, since then I've replaced the windshield seal. Just being catious I built a rain shield for the back of the radio, you can barely see it in this picture (its clear plastic). Notice it also sits off of the radio roughly 1" so the radio can still breath and vent hot air. 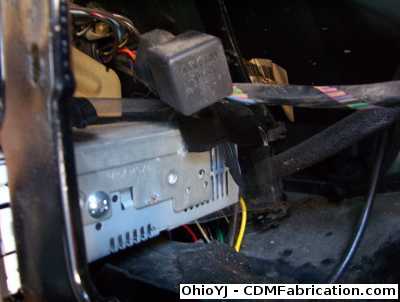 Now on a YJ you'll find that you need to space the radio out farther, for this I used 4 washers on each side, I may go back in and actually get longer screws and add even more washers. On a TJ the installation kit will take care of the mounting issues. Make sure you plug in the radio before you push it back into the dash, and make sure the antenna cable is firmly plugged in. 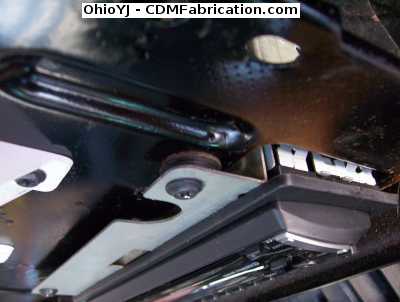 Now still being paranoid about my radio getting wet I decided to "modify" the YJ rain guard. That black plastic guard is actually supposed to direct water away from the radio. I ran a bead of silicone along the length of the radio, and blocked off the right side drain in the guard, so all the water would be forced to run away from the radio. Make sure that it runs downhill, if it does, loosen the screws and relocate it some. 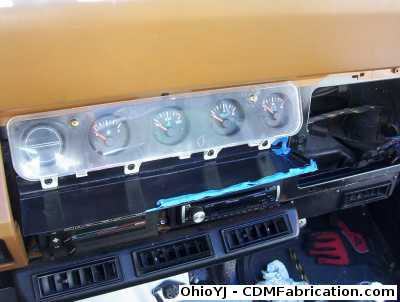 Now while you are upgrading the radio, you might think about replacing those factory paper speakers. I found some new 4-way Sony speakers for $32, couldn't pass that up. 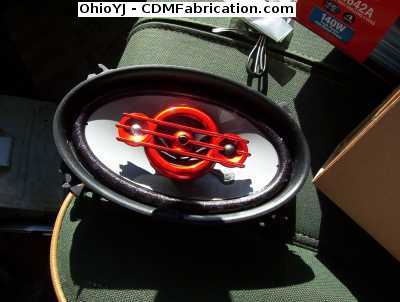 On a YJ the easiest way to change the speakers is to remove the glove box on the passenger side, and the cluster on the driverside so you can have some room to work. I believe on the TJs the corner pieces just pop off once you remove the screws in the side. 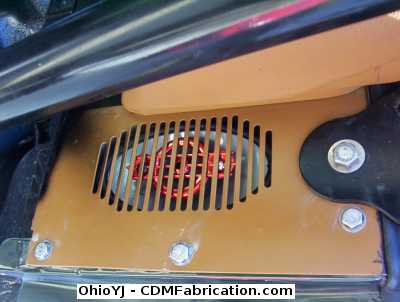 |
| © Copyright 2006 - 2025 Mike Lee | |