
|
|||
|
Jeep FAQ How-To Articles Quick Reference Product Reviews My Buildup Random Home |
Next in my do it yourself series, is clutch master cylinder and slave cylinder replacement. The clutch master cylinder part goes for just about any Jeep. The slave cylinder replacement part here is only good for the people with external slave cylinders. You have a couple different options when buying replacement parts. You can buy the master cylinder and slave cylinder individually, or you can buy them as a preassembled, pre-bled kit, which makes installing them much easier. I'm cheap so I bought the pieces individually. Since I'm replacing both pieces, I'm just going to go ahead and remove them from them from the Jeep. You can replace them without removing the whole hose assembly, but it's easier to get the roll pins out with everything on the bench. Start by removing the slave cylinder nuts, on the driverside of the bellhousing. If your slave cylinder is leaking you should have a pan ready to catch anything that drips. 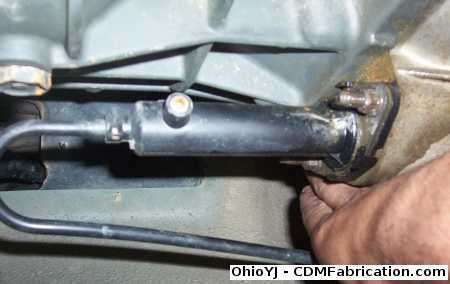 Don't worry if the studs come out instead of the nuts coming loose, it really doesn't matter, I had one nut come loose, the other took the stud with it. 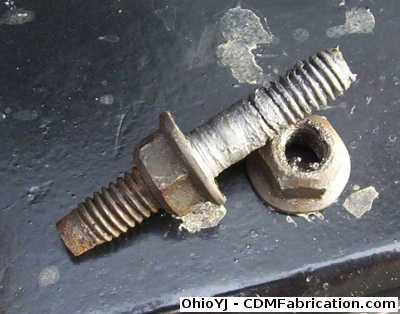 Next undo the clips that are holding the plastic slave cylinder line. There is one on the bellhousing: 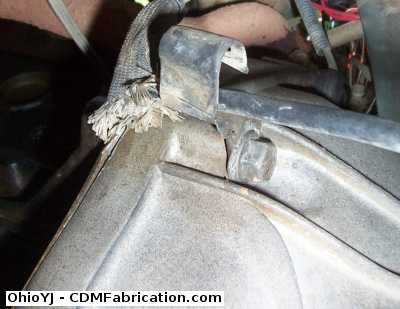 And one on the tub: 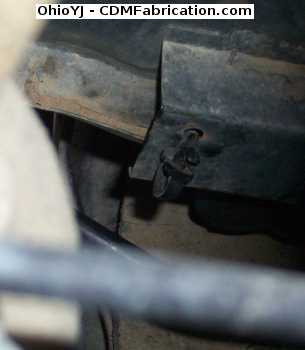 Time to remove the clutch master cylinder. Inside the Jeep follow the clutch pedal up to where it meets the clutch master cylinder. On the end there is a clip that keeps the clutch pedal attached to the clutch master cylinder. The blue arrow is pointing to it. 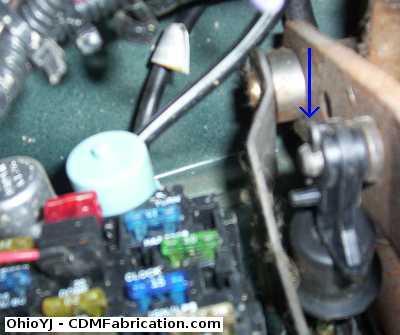 This is what the clip looks like: 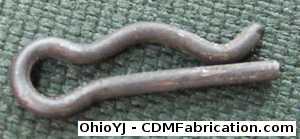 Once you have that clip out move the rod over to get it off of the clutch pedal. Now its time to remove the clutch master cylinder. There is two nuts that hold it on the firewall. These are jam nuts, so they come off a little rough. 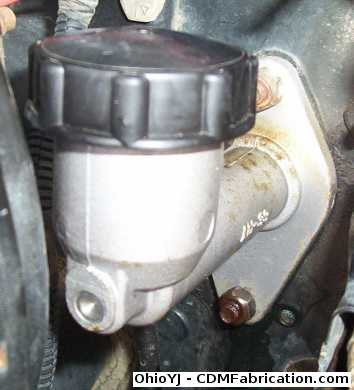 Once you have the nuts removed, I found it easiest to pull everything out from the top, so I just snaked the slave cylinder out through the top. You should have everything out in one piece at the moment. 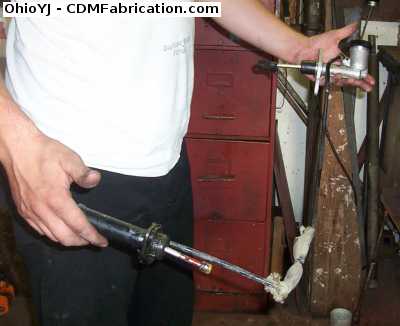 Using a punch (not a screwdriver), carefully beat the roll pin out that holds the line into the master cylinder. 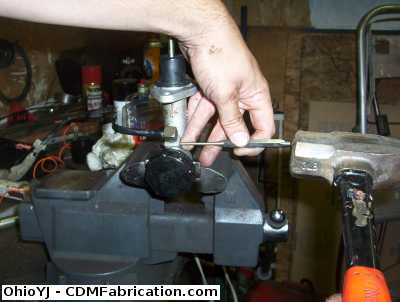 After you have the roll pin out the line will just pull out: 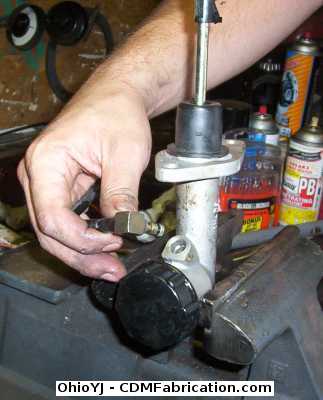 Same thing on the slave cylinder, carefully knock the roll pin out. 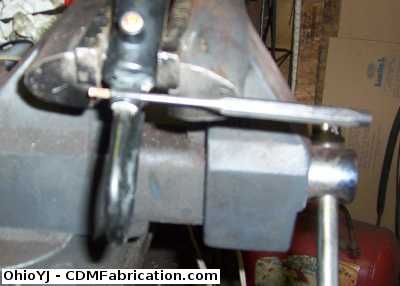 I decided to go ahead and flush out the hose while I had everything apart. You do not have to do this, I just chose to. I just sprayed brake cleaner into it using a straw.YY 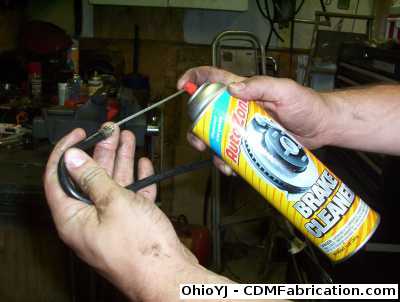 Then used compressed air to ensure there was no brake cleaner left in the line. 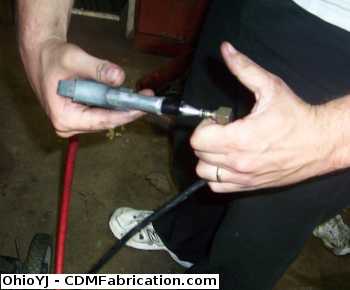 Both the clutch master cylinder and slave cylinder should come with new o-rings, make sure you use them. 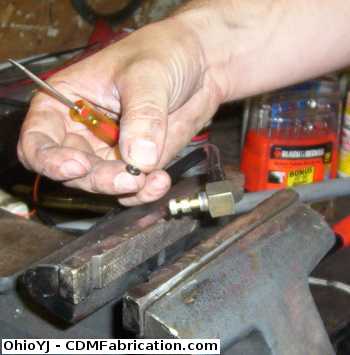 After you have the o-ring in place, use either brake fluid, or clutch fluid to lubricate the o-rings to ensure they aren't damaged when you put it back together. 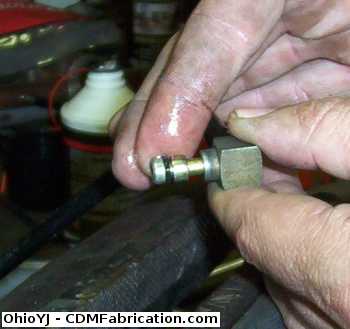 Once the line is back in place, carefully beat the new roll pin included with the part back in. 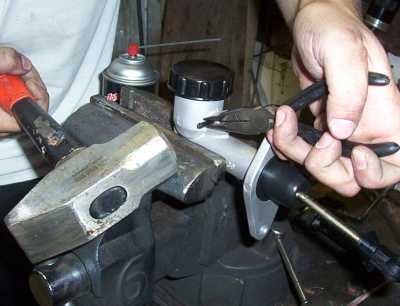 Do the same for the slave cylinder side, note that the slave cylinder o-ring does just go on the end. Also the new slave cylinder may not include a bleeder screw, if the new one doesn't have one, transfer it over from the old one. 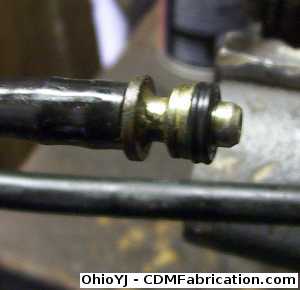 You should now at this point have a completely assembled unit. Notice those plastic straps are still on the slave cylinder, leave those alone for the moment. 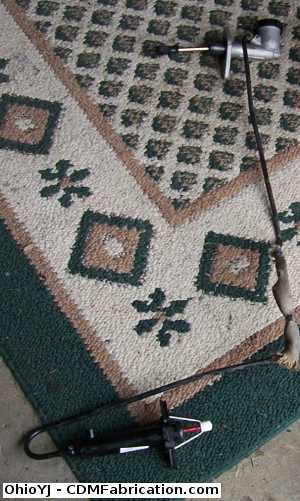 Time to reinstall the unit. Its a good habit to put anti-seize on any bolt you have to re-install. 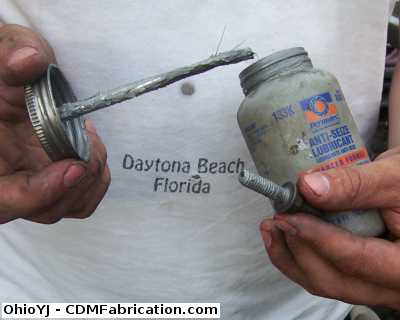 Time for the fun part, bleeding the clutch. There are a couple of options here. 1. You bleed it like you would brakes, have some one pump the pedal then hold it, then crack the bleeder open. Then tighten it back up. Repeat until you have a pedal. 2. If you slave cylinder doesn't have the bleed hole drilled like mine (I didn't want to wait for a new one), or you don't want to deal with the mess, you can just pump the pedal a lot, and I mean a lot, and the air will slowly work its way to the top. Now with either of those choices, you have to decide what you want to do with those white straps that are holding the slave cylinder compressed (pictured above). The instructions tell you to leave the straps in place on the slave cylinder and bleed it until the slave cylinder breaks the straps, then pull them out. Personally I've found that the bleeding process goes much quicker if you cut the straps first, and remove them. That's your call though, you can try it the way the instructions say, if it doesn't work, try cutting the straps off then bleeding it. Over the next couple days keep some fluid with you, as normally you won't get all the air out and it will slowly work its way to the top so the fluid level may drop some, add as necessary. After a few days if its still dropping, you may want to check for leaks.
© Copyright 2006 - 2025 Mike Lee
|
|
|