
|
|
|
Jeep FAQ How-To Articles Quick Reference Product Reviews My Buildup Random Home |
Well my latest do-it-yourself write is changing ball joints. Doesn't take long for all that mud and water to destroy a set of ball joints, especially if they aren't greaseable. Now to get started, you'll need to remove calipers, rotors, wheel bearings, axleshafts, and tie-rod ends. As for removing the calipers, rotors wheel bearings, and such: YJ/TJ Dana30: Use my Changing Wheel Joints. TJ Dana44: Use my Changing Wheel Joints. Dana44 and CJ Dana30: Use my -Manual Hub Wheel Bearing Maintenance. Tie-Rods: Use my Removing Tie Rod Ends. Time to get down to the actual ball joint replacement. Once you have everything mentioned above disassembled, loosen the nuts on the ball joints. I highly recommend soaking these nuts in PB Blaster several days in advance, as they can be stubborn. Leave at least one nut on so the steering knuckle won't hit the ground once it comes loose. A pickle fork can be used to separate the steering knuckle from the axle. However I usually just give the steering knuckle a few good smacks with a large hammer and it falls off. 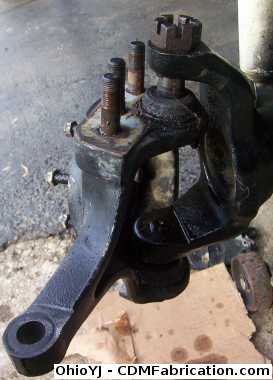 Inspect the ball joints closely, that and check the new ball joints, on the Dana44 I'm working on, it has snap rings on the bottom of the ball joints, use snap ring pliers to remove these (Dana30s typically don't have these): 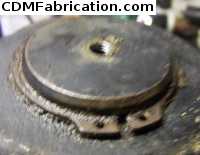 After looking at the new ball joints, I can tell my ball joints press outward. 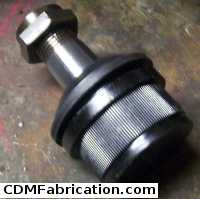 I'm using a ball joint press, these can be rented from many parts stores (AutoZone for one), and Harbor Freight sells these too. Since I'm working on a Dana44 (CJ Dana30 similar), my ball joints are pressed into the steering knuckle, on a YJ/TJ Dana30 the ball joints are pressed into the axle housing itself, but the process is the same, no matter where the ball joints are. I have to press out the lower ball joint first. The press setup is shown in this picture: 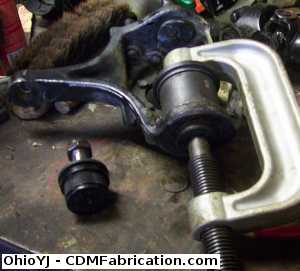 Now once my lower ball joint is removed, I can remove the upper ball joint Notice the press has to pass through the steering knuckle: 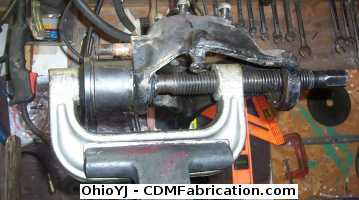 For reinstallation, start the ball joints back in tapping on them with a hammer, do not try and use the press until you have the ball joint started in straight. Put a couple drops of oil on the ball joint on the edge and smear it to ease the installation process. I used the screw part of the press and tapped the lower one in. The upper went in equally as easy, just a few smacks with a hammer and it was done. 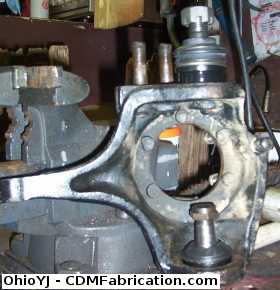 The ball joints nuts can't be completely tightened until the ball joint tapers are fully seated, (you'll find the ball joint taper just turns, instead of the nut tightening), you may have to put weight on the steering knuckle. I've just used a floor jack to press the steering knuckle back into place and to tighten the ball joint nuts. Make sure you remove any grease fittings that may be in the way of the floor jack. 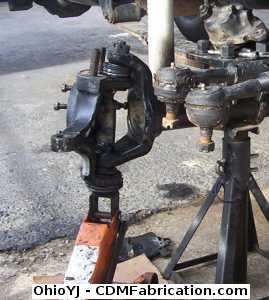 Once you have the ball joint nuts tight, make sure you grease both ball joints before you put the axleshaft back in. WARNING, if you are working on an axle that uses a preload nut on the upper ball joint, like my Dana 44, this must be adjusted or you will have ball pre-mature ball joint failures. This does require a special socket that you will most likely have to make or order. The procedure will vary depending on the axle and brand of parts. Generally you torque the lower ball joint, then the adjustment nut, then the upper ball joint. 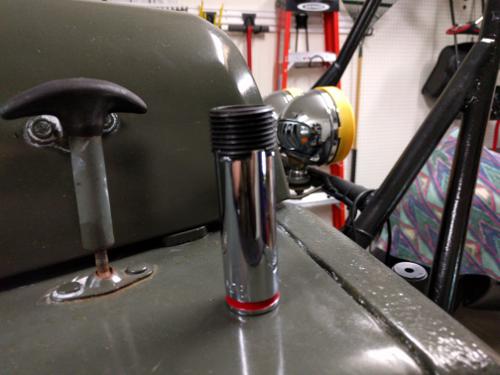 |
| © Copyright 2006 - 2025 Mike Lee | |