
|
|
|
Jeep FAQ How-To Articles Quick Reference Product Reviews My Buildup Random Home |
I made some small covers to cover the holes I cut in the back of the speaker box. Primarily just to keep some debris out of them. 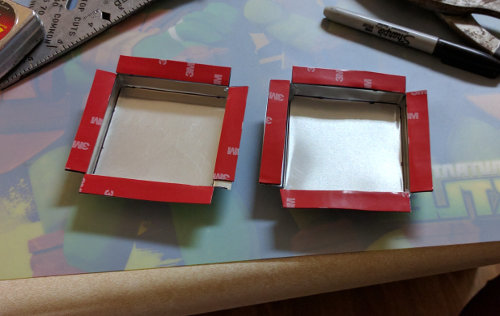
The driver side floor heater drop also dropped off right behind the box as well, so I made a small extension so it now ends roughly at the box. This should prevent heating the backside of the box (and radio), and directs heat towards the drivers feet. 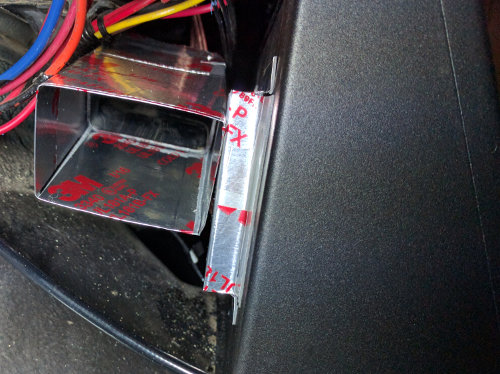
My Jeep has leaked power steering fluid for quite some time. Not helping matters was the mix of parts. I finally broke down and had custom power steering lines made. Wish I would have known it didn't cost much more than regular lines. No more leaks. 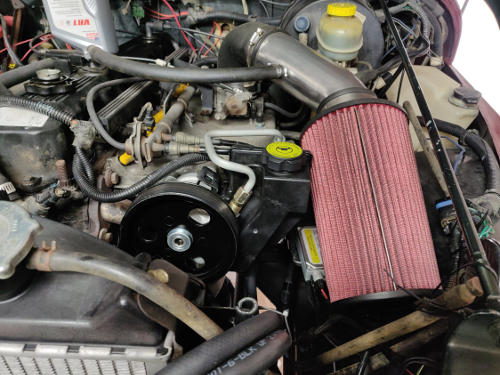
Added a power steering cooler as well. I don't like the way this mounts though. I want to swap this out for one that mounts like the one I used on my 370. 
Finally found replacement trim panel for my hardtop as well. It had been broken since I bought the Jeep. 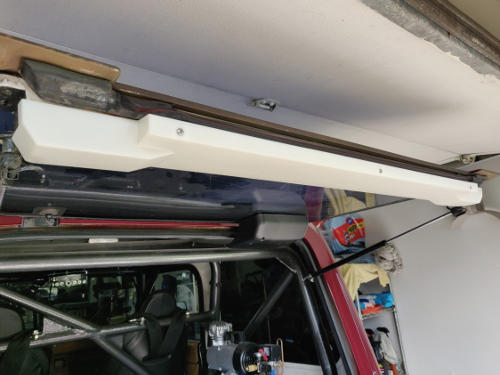
My Jeep isn't used for competition, but the harnesses still need replaced every so often. I came across this article about this subject, from PRP, which brings up non-competition vehicles even: Why You Should Replace Your Harnesses Every Two Years It's pretty interesting actually. 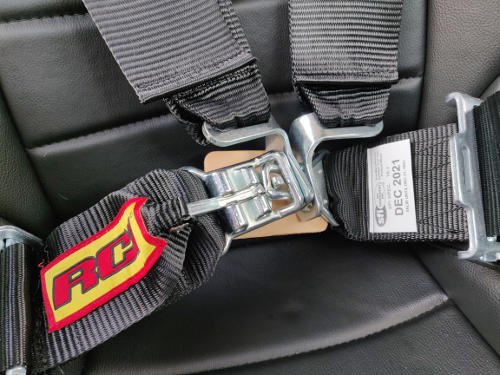
In preparation for my brake system upgrade I had custom brake hoses made for my rear axle. I couldn't find anyone making anything but Explorer style 8.8 hoses. Which wasn't what I was looking for. A local shop was able to put these together for me. 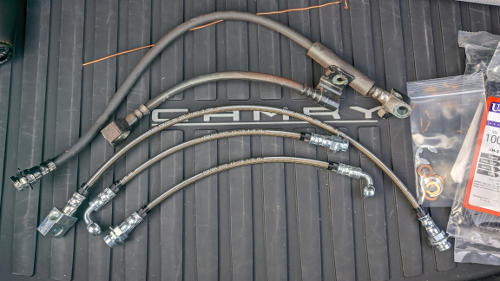
I found out though my new lines where thinner and the banjo bolts were too long. The quick fix so I could keep working on things that day was cut the banjo bolt down and smooth it out. 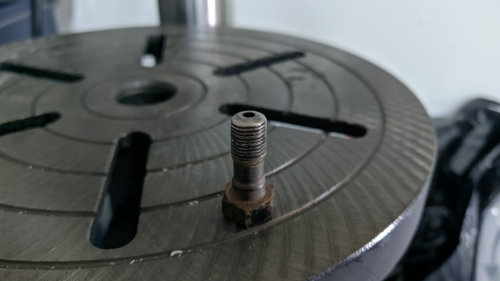
Had to make new brackets to mount the brake hoses. 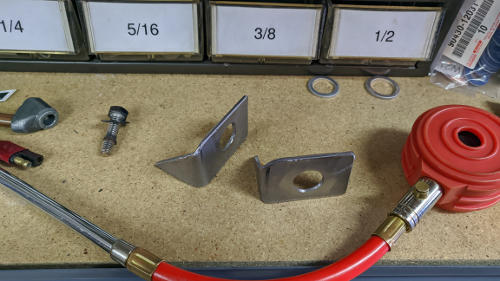
The rear lines are the easiest as they are nice short runs. 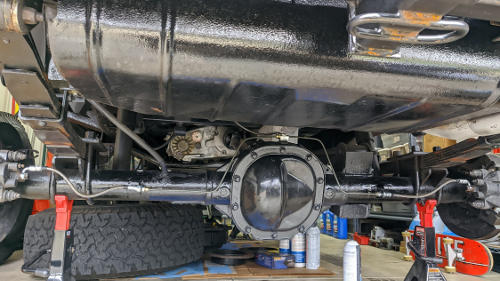
The master cylinder I'm using for this "upgrade" is for a 1978 Grand Marquis with 4 wheel disc brakes. The bolt pattern is the same but the depth is different which must be account for. I've seen people do this a couple different ways. I chose to make a spacer using some stainless from my local hardware store (taking careful measurements between the two master-cylinders to determine length of the spacer). 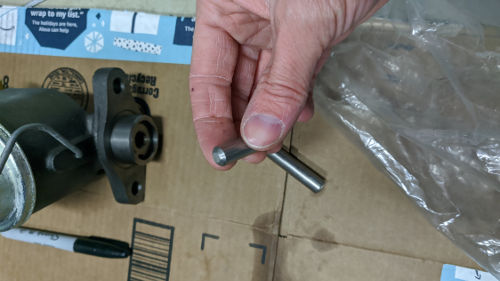
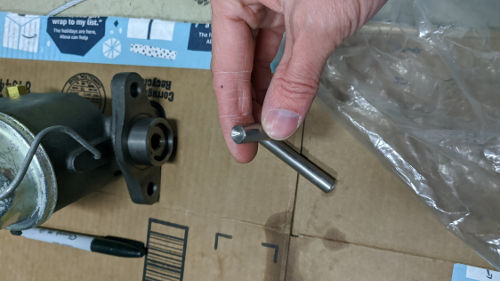
Then the spacer is sleeved. 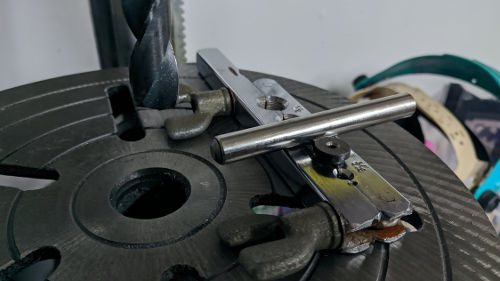
Stock master cylinder compared to the new one. 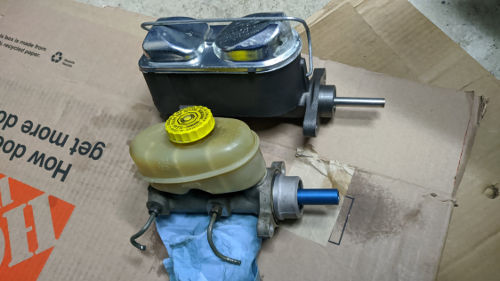
I'm using an adjustable Wilwood unit for a proportioning valve. 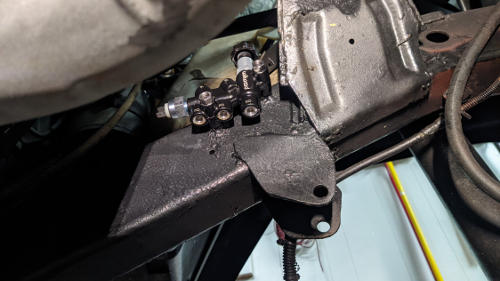
I did use a O-Ring from the local hardware store to seal the master cylinder to the brake booster. Other than that it mounted it right up. 
The next hurdle was my old intake no longer fit due to the larger master cylinder. My only solution was to run a TJ intake. Fitting the AEM TJ intake only required a couple brackets, and some minor trimming to the right side of the heat shield. The trimming to the left side is optional. 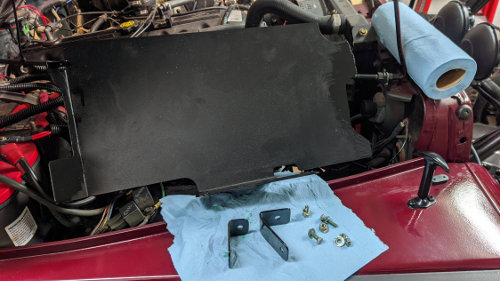
Since my motor is lifted I could not run the throttle body spacer, and I did have to trim down the intake tube to make it sit a little lower. Other than that, it pretty much bolted right on. 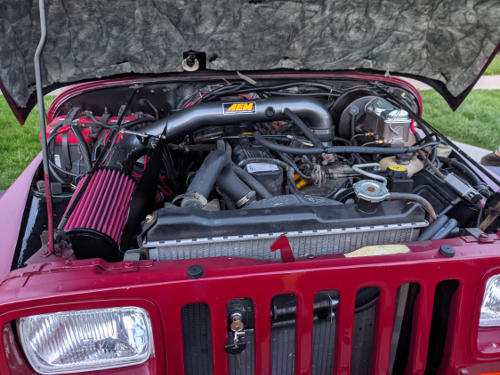
For many years I've dealt with my transmission not shifting right. I finally decided to rebuild it. 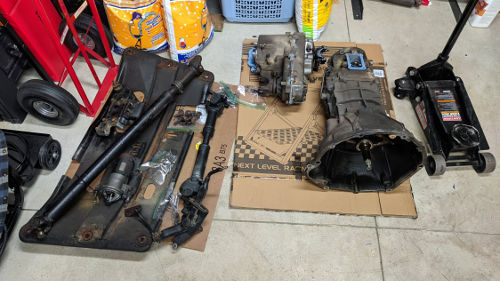
Everything torn apart. 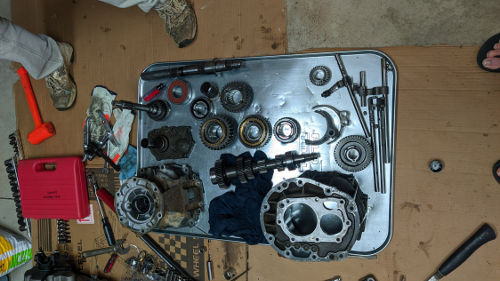
Transmission cases after a quick bath in some dawn dish soap and dried. 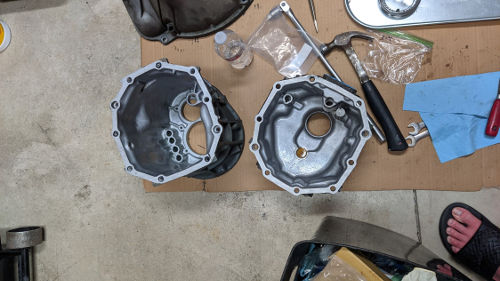
As with any rebuild all the bearings and synchros were replaced. However I also ended up replacing the synchro hubs / sliders (all), second, and fifth gear as well. 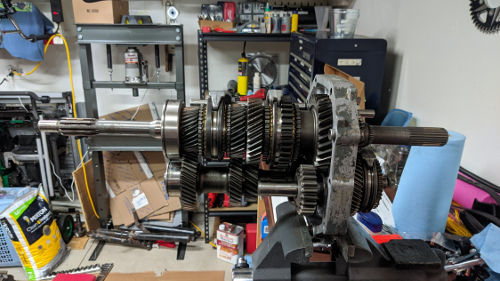
While everything was out it was a good time to rebuild the transfer case as well. It had been seeping fluid for a little while now. 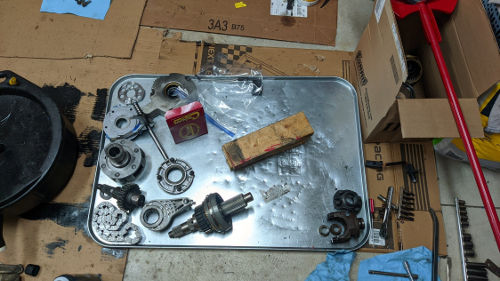
New super short SYE installed. 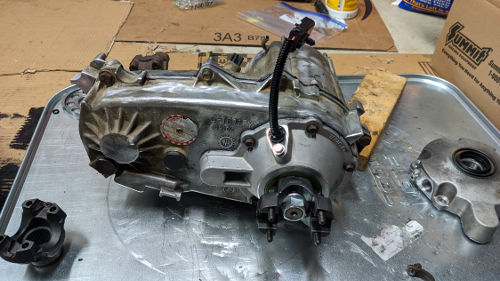
While everything was out I figured it would be a good time to service the rear driveshaft. To my surprise the rear U-joints on the transfer case side came out by hand. So everything got replaced. 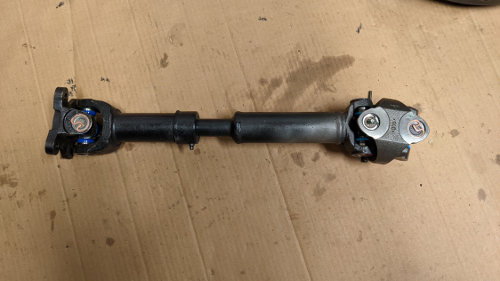
|
| © Copyright 2006 - 2025 Mike Lee | |