
|
|||
|
Jeep FAQ How-To Articles Quick Reference Product Reviews My Buildup Random Home |
Taking apart a NP231 or NV231 isn't as big of a deal as you might think. For chain replacement, or an SYE installation its just easier to go ahead and pull the transfer case. Admittly this is a TJ case I'm working on, the YJ stuff I'm doing from memory. Ok I don't have any pictures of the removal of the case, but that's pretty straight forward so I'll just offer some tips and general instructions. Easiest thing to do is to remove the skid plate, support the transmission with a jack stand. Once the skid plate is out of the way drain the fluid from the transfer case. Remove the driveshafts. Now shift the transfer case into 4WD and remove the front driveshaft yoke from the transfer case. Now you can remove the shift linkage, and bracketry if necessary, disconnect the speedsensor, vacuum switch (YJs only), and vent tube. Now you should be able to remove the 6 nuts that hold the transfer case to the transmission. Its a good idea to support the transfer case while you remove the bolts, it won't just fall off, but its a good idea to support it anyways. Once you get it loose you should be able to pull it back and bring it down. Now personally I just man-handle the thing down without issue, its not super heavy, however, be very careful, even if its only 50 pounds, 50 pounds dropping on your chest from a height of 18" would be a very bad thing, its best to have someone to help to pull it down. Once you have the transfer case out, it's time to start disassembly. Start on the rear driveshaft side, on a YJ remove the four bolts holding the outer nose cone on. On a TJ you have to gently tap off the seal gaurd. Tap it off evenly and slowly, its a tight fit.  At this point its easiest to stand the transfer case up on the input shaft, so you can lift the back half straight up. Next (YJer's get to sit this step out) on the TJs, remove the first snap ring, then the metal washer under the snap ring, then beat the seal out. 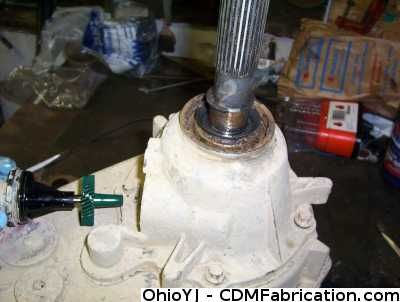 Now YJs and TJs both have to remove the inner snap ring around the output shaft seen in this picture, its resting against the bearing (not the big one holding the bearing in place, the small one on the shaft): 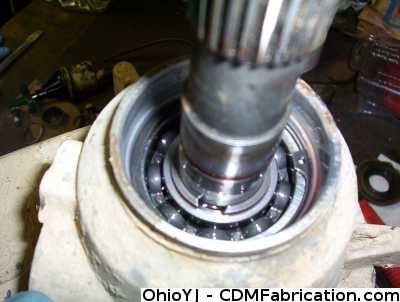 Remove the speed sensor: 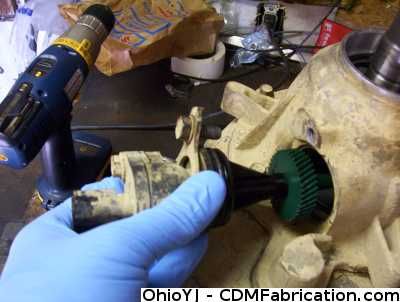 Now you can remove the bolts from the back of the transfer case. Use the build in tabs to pry the back up so it can be removed. Once you get it broke free lift it straight off. 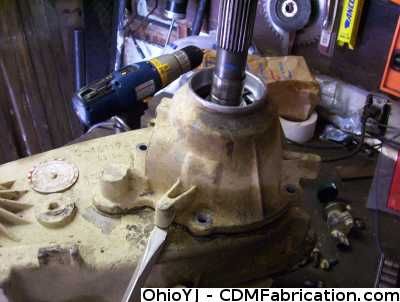 Now what you are looking at is the oil pump for the 231, circled is where the pickup tube slides into the pump. Gently lift the pump up slightly and using a very small screwdriver pry the pickup tube out of the pump. There is an oring that will either stay on the tube, or in the pump, doesn't matter where it is, just as long as you don't lose it.  Finally time to split the case, remove all the bolts around the out edge of the transfer case. There are several places to used to pry the case apart. Circled in blue is one of the built in tabs, top side near the front driveshaft output. 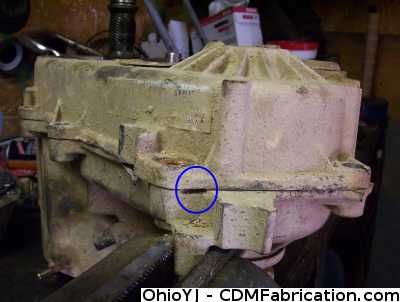 Gently pry the case apart: 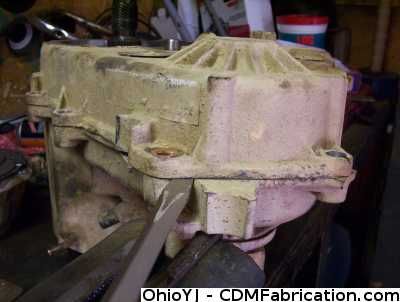 Lift the back half of the transfer case straight off. 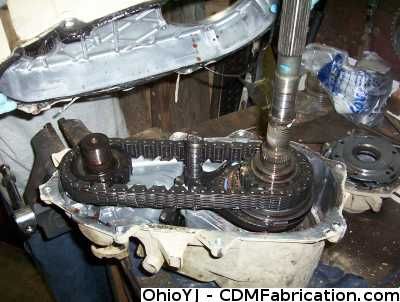 The pickup tube and filter should be in the half you removed, make sure you clean out this filter: 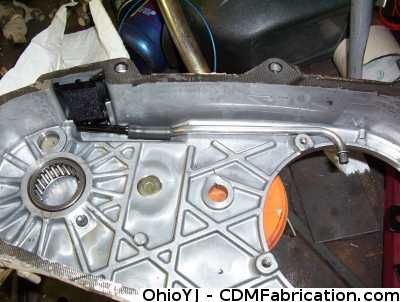 In the other half of the transfer case you'll find a little spot that a magnet sits in, remove the magnet and wipe if clean. Make sure you put it back in its groove. 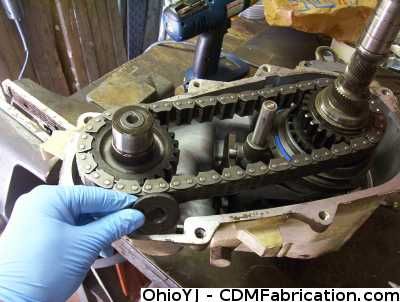 Remove the spring that is sitting on top of the shift rail in the center of this picture, set it aside, don't lose it. 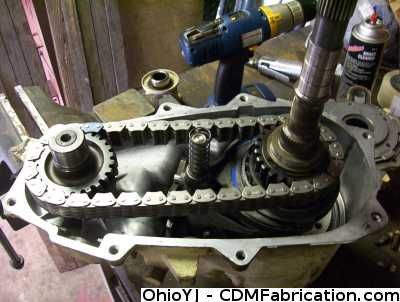 Firmly grab the rear output shaft, and the front chain sprocket, and pull them up and out together, evenly. Nothing can fall off of these shafts at the moment, so don't worry. If you are replacing the chain, remove the old chain and set it on the opposite side of the garage. Even if your chain is badly stretched you'll still have a hard time telling the new from the old, so keep them separated. 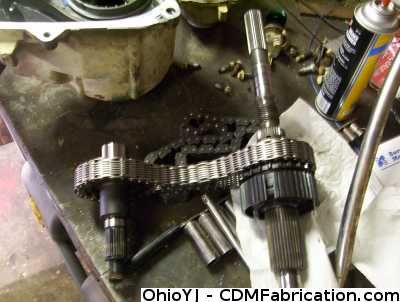 Now don't worry if when you pulled the shafts up the shift rails and forks came apart. No big deal, always happens to me. Here is how the shift forks go, in order:  Go ahead and put the lower back in, the tab on the shift fork goes in the grove in the shifter bracket. 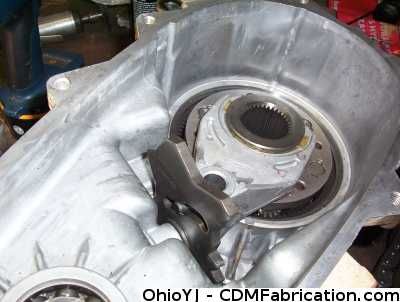 The other one goes through the lower shift fork, make sure all three shift pads are still on the top fork. 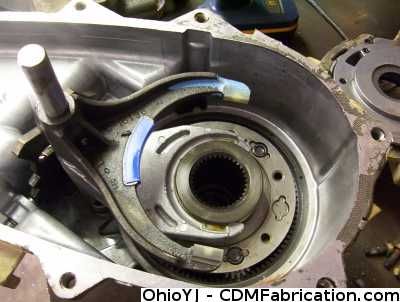 Make sure you have pointed teeth side of the slider pointing up towards you. 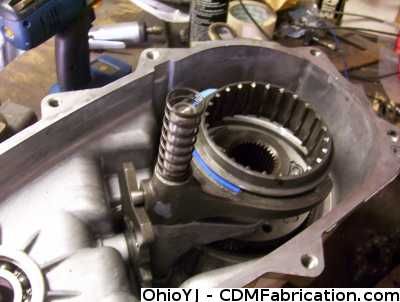 Now if you are installing an SYE, take the output shaft and remove the snap ring at the bottom of it. Then slide the gears off and lay them in order on the work bench. Then place the gears back on the new SYE shaft in the order in which you removed them. If your chain sprocket has a needle bearing in it, you'll find it won't fit on the new SYE shaft, remove the bearing, and re-install the sprocket without the bearing. (Newer 231s don't have these bearings.) 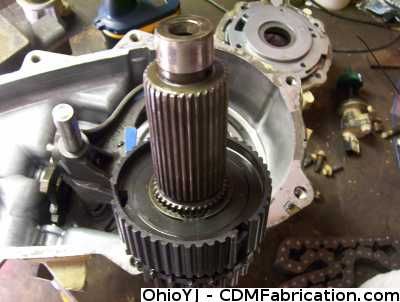 Note older 231s sometimes need the shift rail cut down. If your shift rails measures 10.2", it must be cut down to 9.380", I've always just used an angle grinder to cut them, it doesn't have to be perfectly straight, but debur the edges after you cut it. (Most people won't have to do this step.) Cut if off of the left side of the shift rail in this picture. 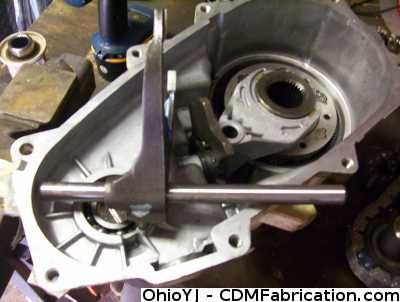 Ok once you have your SYE shaft or your new chain, time to start putting it back together. Clean everything very well with brake cleaner, and scrape away any old silicone. Once you have the main half of the transfer case clean, make sure the shift forks are in re-installed, and grab both the front output sprocket and the output shaft, and stick them back into the transfer case, as one piece. You may have to rotate the shafts a little to get the teeth on everything to line up as you work it back together. You should now have it back together and be at this stage:  Once you think you have both halves of the transfer case clean, and wiped down with brake clean, wipe them down one more time just to be safe. This step is critcal, the surfaces have to be clean. Then run a continuous bead of silicone around the edge of the transfer case, inside of the bolt holes. Once I run the bead I evenly smear the silicone around to cover the entire mating surface. 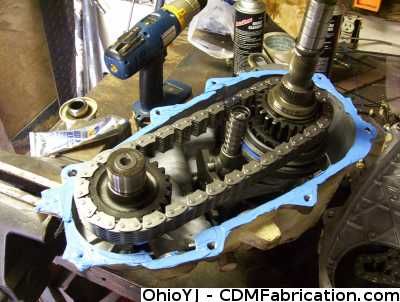 Just double check and make sure you put the magnet back in place on the bottom half, and the oil pump pick up tube and filter are back in place on the top half of the transfer case.  Once you get the back half of the transfer case in place, start bolting it back together. Start in the center and work your way to the outside. Notice I'm using a short stubby rachet, this is to help prevent over-tightening. These aren't lug nuts, they do not need to be super tight, just tighten them down as evenly as possible. 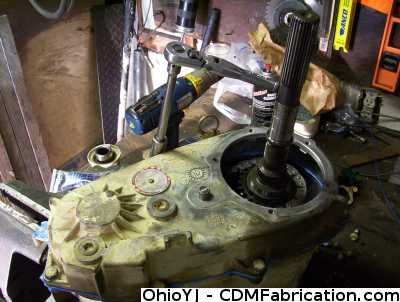 This step can be a little frustrating if you've never done it before. You have to push that tube back into the oil pump. 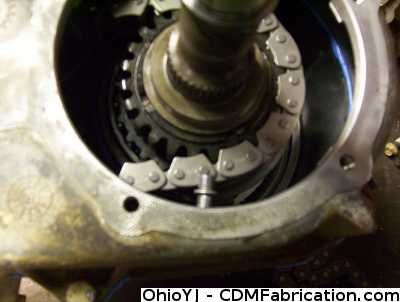 You'll only be able to move the pump around a small amount, so use a small screw driver to push the pick up tube back into the oil pump. 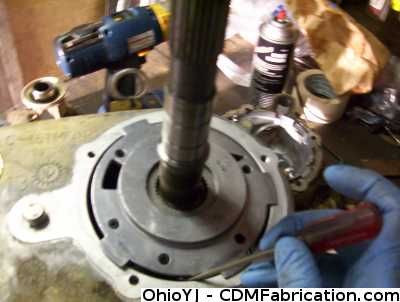 Again after carefully cleaning both mating surfaces smear silicone around the tailshaft cone: 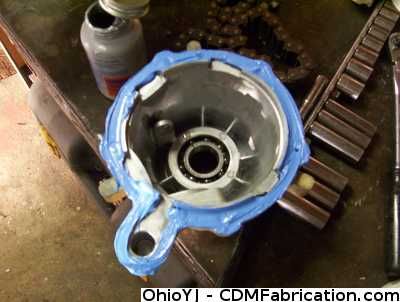 The cone down ontop of the transfer case, but do not start bolting it down yet. First pull up on the output shaft to make sure it's splines are aligned with the teeth on the oil pump, it should pull up 1/8" - 1/4", it it does, go ahead and start bolt the tailshaft cone on. 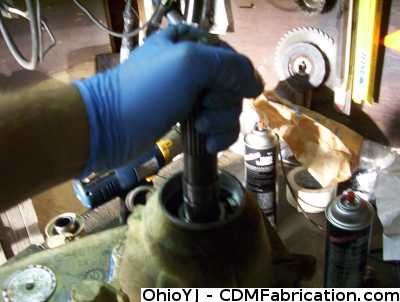 At this point you should be able to re-install all the snap rings and seals, on your own, referring to the beginning of this guide.
© Copyright 2006 - 2025 Mike Lee
|
|
|